> Soccer – Hack The Box
Soccer is a Linux box tagged as easy on Hack The Box. However, it has an average user reported difficulty score of Medium. Released on the 18th of December 2022 it’s 44 days old as of writing and has a rating of 4.5 and was worth 40 points.
Getting User
Using the nmap command “nmap -sV -sC -oN simpleNmap.txt 10.10.11.194” we can begin scanning of the machine.
| |
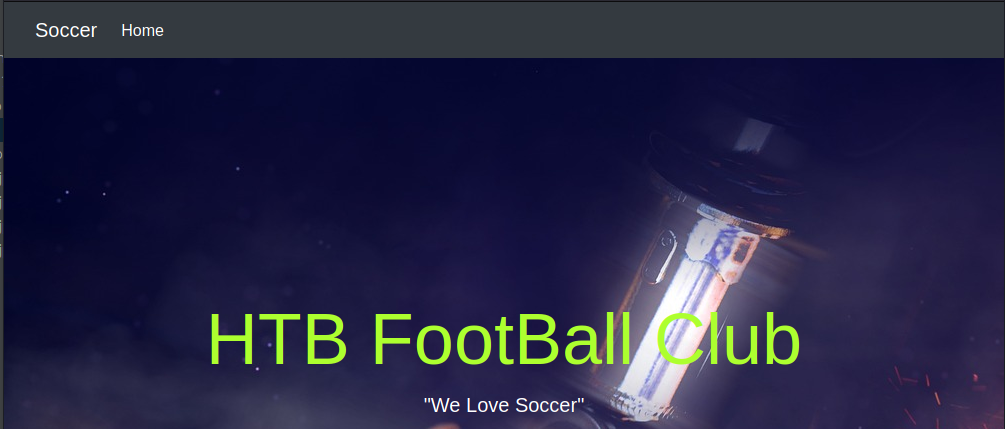
We can see immediately that there are two ports of interest being 80 and 9091, we can also see that port 80 is trying to redirect us to http://soccer.htb which means you’ll need to edit the /etc/hosts file on your host machine to include the IP of the machine and the domain soccer.htb in order to access the site. Navigating to that we see that name becoming a theme.
Next checking out port 9091 with a curl request leads nowhere then using additional scanners and some manual tests I wasn’t able to find anything there. I tested everything I could think of but assume I missed something
I then tested for subdomains under the http://soccer.htb/ domain and couldn’t find any. While I had it open I used the subdirectory fuzzer in ZAP with the default word list. Normally I’d use gobuster here but it found that there is a subdirectory named “tiny”.

Visiting http://soccer.htb/tiny/ leads us to a website displaying Tiny File Manager which from it’s Documentation is a “Web based File Manager in PHP .. small file manger with a single file”. Quite an impressive bit of software.
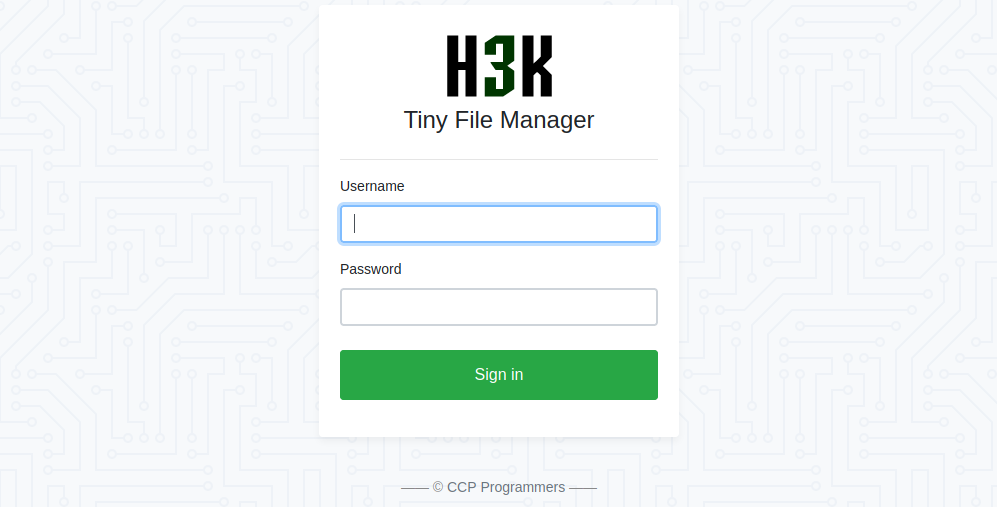
Looking at the source code of the website we can fine that the version of Tiny being run is 2.4.3 which has a vulnerability where attackers with valid credentials can upload PHP files to the web root and achieve code execution on the target. The vulnerability has been assigned as CVE-2021-45010

A quick search online for default credentials leads us to the documentation for tiny the application where there are the username “admin” and the password “admin@123”. Using those credentials gets us in and reading a bit more about the vulnerability here reveals that all we need to do is upload a PHP reverse shell to a directory under the applications root and then attempt to access the PHP file directly. For this I created a directory named “Shell” and placed the reverse shell in there, just to make sure someone else doesn’t access it by accident and think it’s part of the box. I like to use this reverse shell by pentestmonkey on GitHub.
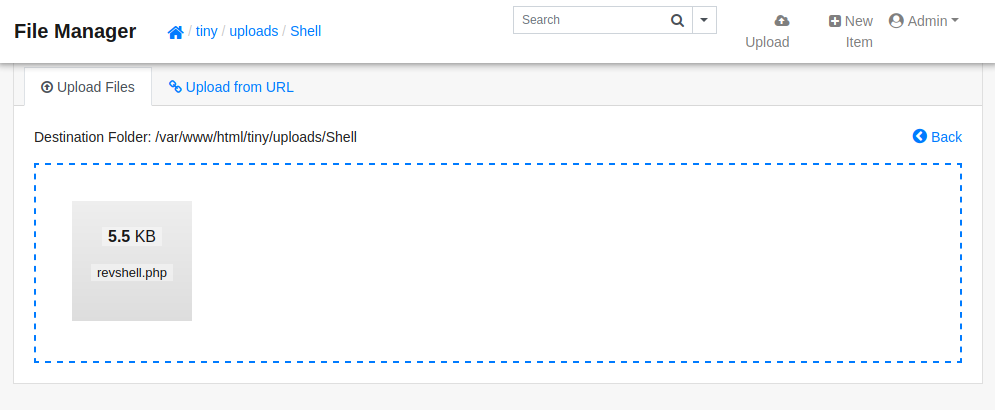
After uploading the file we’ll need to start a netcat listener on the port specified in the reverse shell using the command “nc -lnvp 9001”
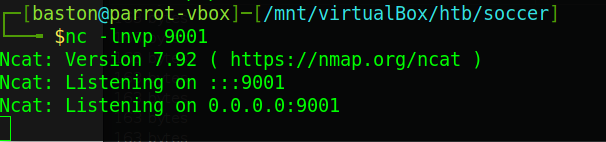
After that’s been started we’ll just curl the full path to the reverse shell on the web server.

Once that’s done you should have a shell, you can safely close the terminal with the curl request as it will indefensibly hang.

We can see from our shell we’ve gotten access as the “www-data” user account. Listing the directories under “/home ” informs us that the user account that we need to get is named “player”. Trying to read the user flag from here is unsuccessful with a permissions error, this means that we need to be the user “player” to read the flag. I attempted further enumeration of the machine using manual methods and Linpeas but that didn’t get me anywhere.

I was poking around the nginx configuration files when I noticed a subdomain configuration file, reading the condense of “/etc/hosts” the domain soc-player.socker.htb has been identified.
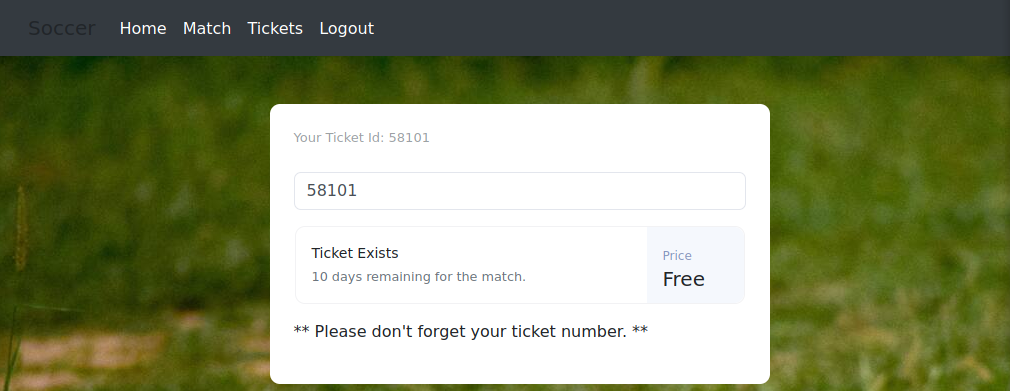
Add that subdomain to your own “/etc/hosts” file then navigate to the site. I signed up with made-up email, username and password, after that I navigated to the “Tickets” page. Entering the “Your Ticket Id:” value into the box returns that the ticket is free then entering a random number returns that the ticket doesn’t exist. This site seems like the developer test site as it’s following the soccer theme and has a few features added.

Playing around with the site I tested some inputs and found that it’s very susceptible to SQLi.
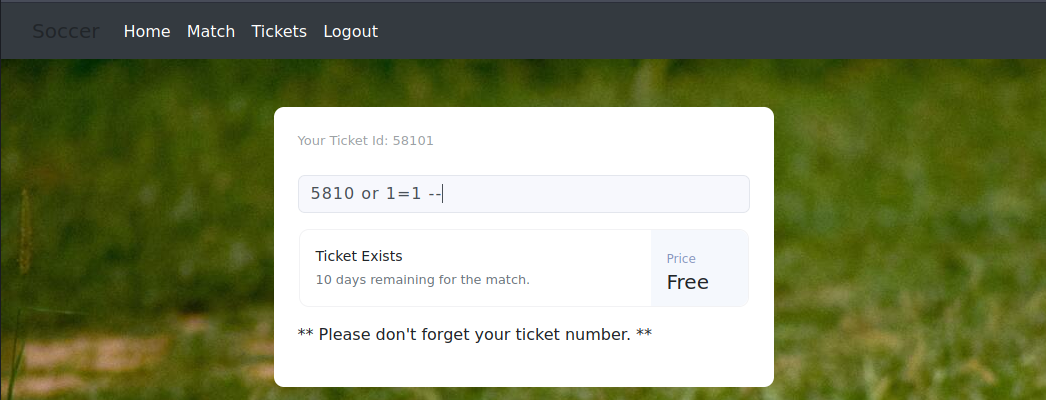
Typing “5810 or 1=1 –” will return that the ticket exists. However, this doesn’t actually tell us anything useful except for that there is a vector there.
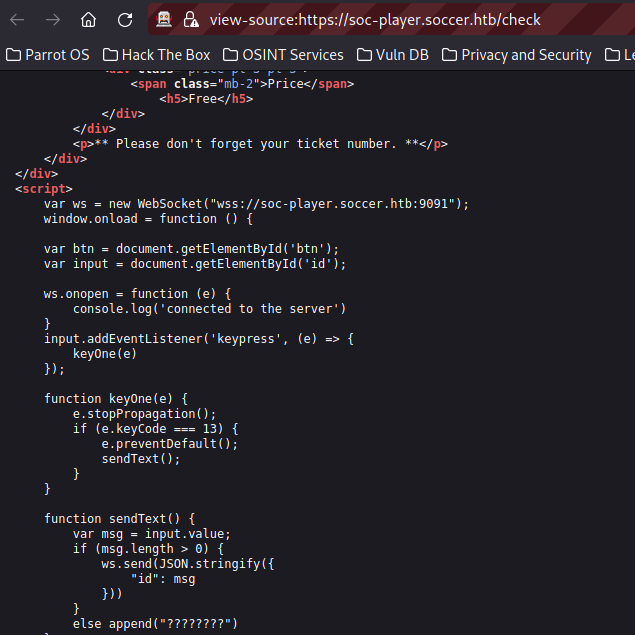
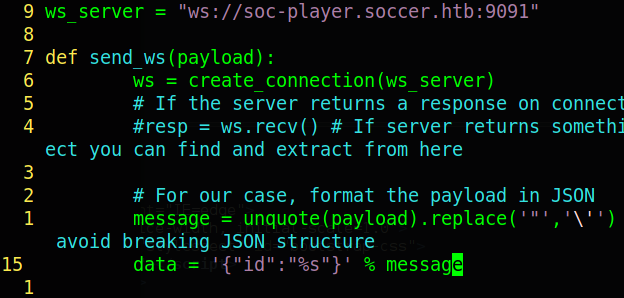
Exploring the source code of the site reveals that it’s using a web socket. Doing blind SQL injection over a web socket would take too long to do manually so we’ll be automating it. The tool I’d like to use directly is sqlmap. However, it’s support of web sockets is very poorly documented so we’ll have to change gears. Using a tutorial by rayhan0x01 we’ll create a virtual web server to sit in between SQLmap and the web socket, this should translate requests over to the target. Rayhan0x01 has provided a Python script that works as a man-in-the-middle of our requests from sqlmap to the web socket. It’s worth reading the code to understand how it works.
All we need to do to get it to work for us is change the “ws_server” variable to the address of the web socket which is “ws://soc-player.soccer.htb:9091” and the data being passed to “{“id”:”%s”}”. This comes from the code earler where we can see the data being sent is “”id”: msg ” in a json string.
Once that’s done run the python script (you may have to change the port it runs on), then sqlmap using the command:
| |
This points sqlmap at the local python server, tells it to attack the “id” parameter, runs it without asking us anything using the default options. Finally, the flush session option is just because I didn’t want it to reuse the last time I tested it against this, you won’t need this option. As I’m a Hack The Box free user the machine kept getting reset during my runs of sqlmap meaning it never actually finished… Three… Times… After this box I bought a full subscription because it’s incredibly annoying when people keep resetting a box when you’re trying to run a scan.
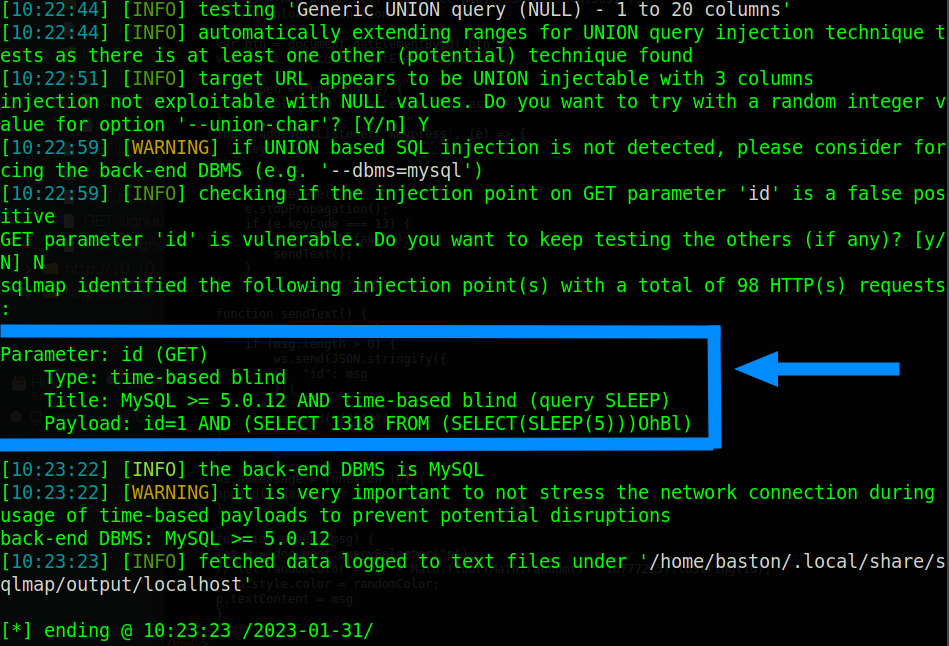
At this point we can see that sqlmap has identified that the input is vulnerable to time based attacks which you can read more about here. Though, time based attacks do mean that we can retrieve data they take a while to do. To perform this attack we’re first going to use sqlmap to identify what databases are available to us using the command:
| |
When you do this you’ll be asked if you want to optimise values, select no. We don’t want to do that simply because it’s not needed. It’ll make the scan take much longer and sends a lot of requests which can hang the box for others.
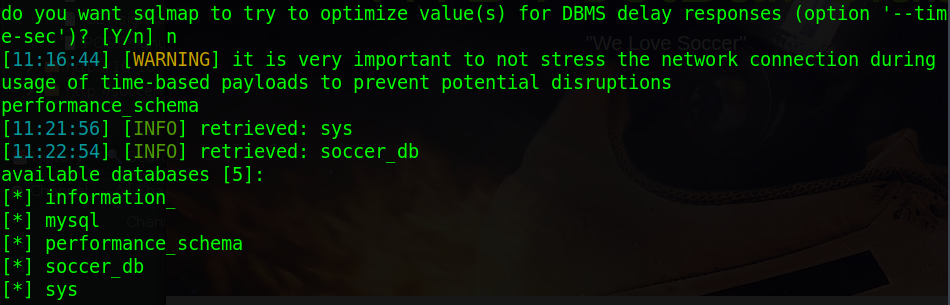
After running that command we can see that we’ve got 5 databases. You can retrieve all the data in one of the databases by using the command:
| |
This takes a very long time to run as it’s using the sleep command to retrieve data. I started with the database that fitted the soccer theme, the retrieval of data took a long time for me.
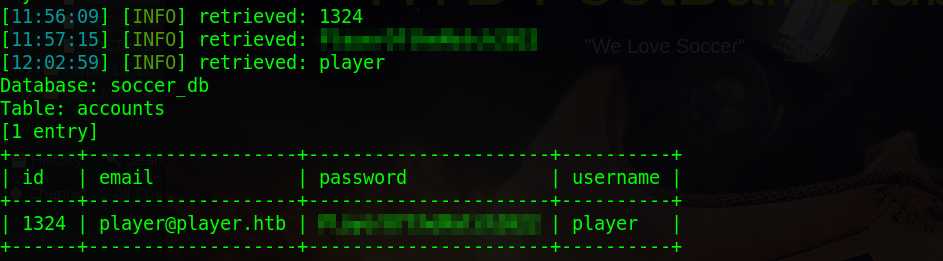
After that’s ran we’ve got some credentials for a “player” user. Remembering from earlier this was the name of the user on the box. Use those credentials to attempt an SSH login.

VOILA! We now have user. You can now cat the user.txt and retrieve the flag.
Getting Root
Now onto privesc to root. Usually, the first thing I do on a box after “sudo -l” is run commands to search for unusual programs with the SUID bit set. You can find more about that here. I then use GTFOBins to find if there are any exploits related to that . Run this command to find SUID binaries:
| |

Looking right at the top we can see the “doas” command has the SUID bit set. I used the “man” command to pull up the manual for this program then checked it’s ArchWiki page and learnt that it’s usually found on OpenBSD systems. It’s basically a much smaller version of “sudo”. Reading the manual we can find that the configuration file is under “/usr/local/etc/doas.conf”, cat this to read it.

The “doas” commands configuration is very readable and tells us that the “player” user can run the command “/usr/bin/dstat” as root without a password.
Looking at the manual for “dstat” we can find that it supports plugins written in Python. Looking online at how plugins work we find that it just runs anything placed in the “/usr/local/share/dstat/” directory with the correct naming scheme and an option when running “dstat”. Using the command “touch /usr/local/share/dstat/test && ls -lha /usr/local/share/dstat” we can see that we have write permissions on that directory. The naming convention for plugins is “dstat_“plugin name”.py”. Setup a listener on your host machine because we’re going to create a Python reverse shell. Head over to revshells and generate a Python shell and place it in the plugins directory, naming the file “dstat_tst.py”. This will mean that we’ll call it using a tag of “–tst”, on Hack The Box machines you should try not to name files “test” or “shell” as it’s likely that someone else is doing the same thing and you could end up overwriting their file, and vice versa.

Run “dstat” using the command:
| |
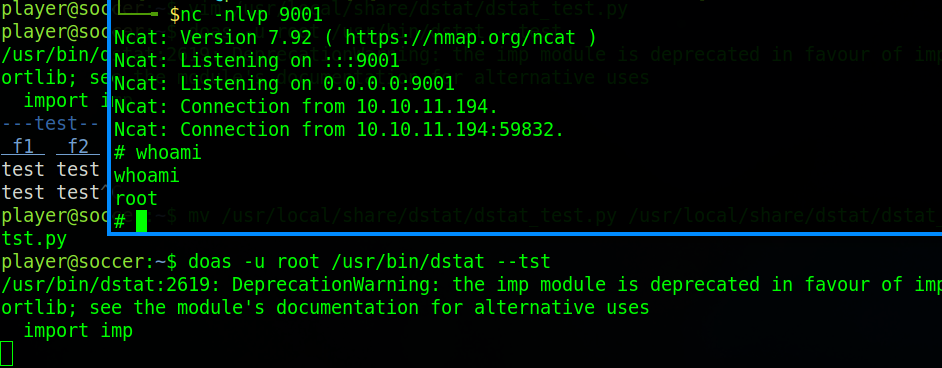
As you can see we’ve now got root. Use cat to read the root flag to finish the box.
Conclusion
This box is the longest easy box I’ve ever worked on. It took a while but I definitely learnt a lot. I’d recommend this box to anyone that needs practice in their enumeration skill. This box reminds us that part of the privilege escalation stage is lateral movement not just vertical. Check out my previous Hack The Box writup on Precious here.